Let’s print
back to lino
Linocut was the first graphic technique I learned in college. It is also my favorite technique when it comes to printing. As a naturally impatient person, I noticed that the process of ‘digging’ in linoleum teaches me a lot of control and composure. Some people enjoy yoga or hugging birch trees under the full moon … I prefer meditation with a chisel in my hand.

After graduating from the Faculty of Graphics at the Academy of Fine Arts in Warsaw, I focused on painting, which was never my strongest point. However, paint and canvas were never enough for me and somewhere in the back of my head I felt that I wanted to return to graphics. Maybe out of fondness for my student years, maybe out of the need for a break from the easel, or maybe simply because it was fun and I like to have fun.
So I saved some money and bought a graphic press – a small one, one that would look good in the photos next to me and make me look taller than I really am: P Just to be clear – I have a bigger complex regarding my prominent nose than my height, but photos next to a printing press are more catchy then the ones next to door knobs!
And this is how my adventure with printing began again.
The entire atmosphere that accompanies the process of creating a linocut (from making the stencil, to the choice of paper and up to printing) is – as I mentioned at the beginning – a kind of meditation. For those of you who are not familiar with the technical aspects – a short explanation:
- Create a sketch on the linoleum.
- With a chisel, we dig out the linoleum that will not appear on the print – what we leave, all the protrusions will be our drawing. This process is rich in numerous cuts to your fingers (chisels should be very sharp), buckets of coffee (in my case black, no sugar) and a persistent neck pain.
- After the matrix/stencil is prepared, we open the wine and rest for a few days, convinced of our talent.
- Now it’s time to print! We put on some good music (bossanova or jazz will do), choose good, thick paper, soak it (I soak it in the shower basin ), dry it (slightly damp paper transfers printing ink better) and gently place it on the press, on top of our paint – covered matrix/stencil.
- For the next few hours we painstakingly try to make a technically good print – usually after the first few attempts we manage to choose the right pressure of the press and the right amount of ink on the matrix. When we are satisfied with the quality of the print, we go with the flow and print the whole batch at once (if we have time and willingness).
- Each print is then placed on a cork board and dried for at least 24 hours. Ta-dah 😛


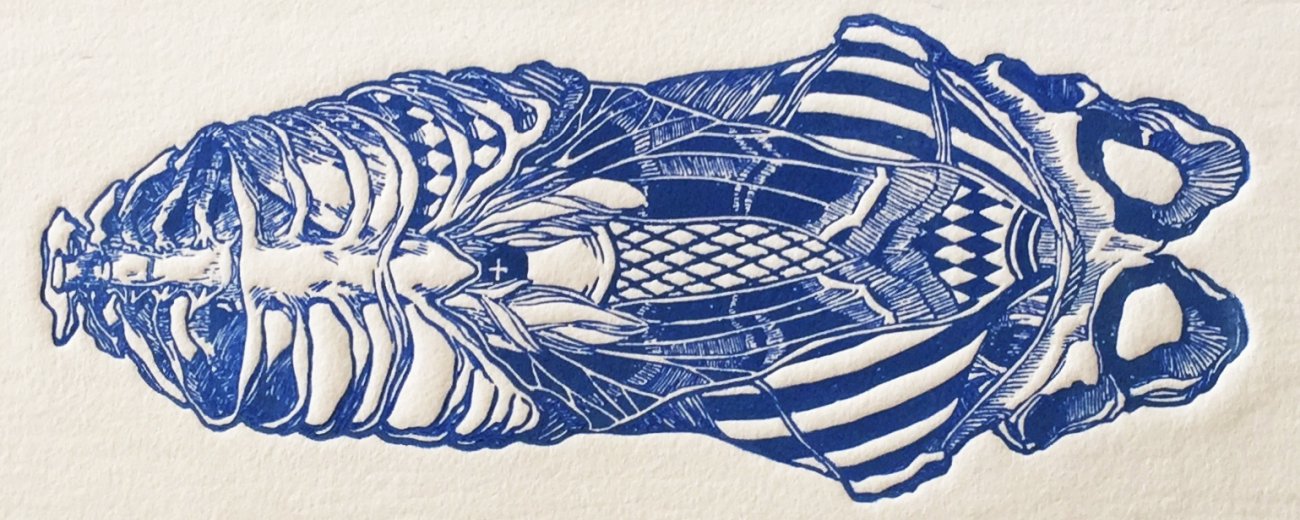
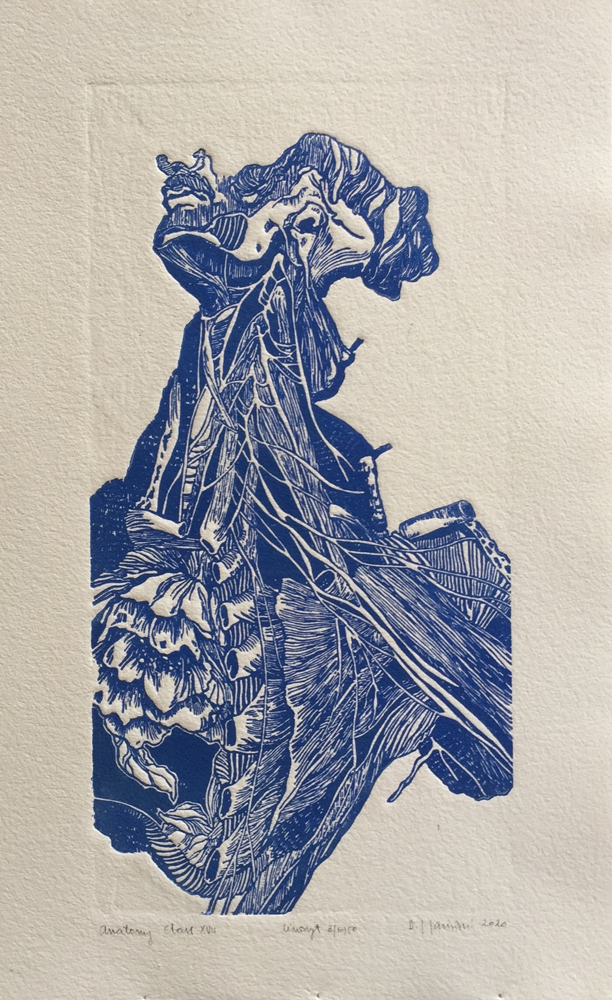
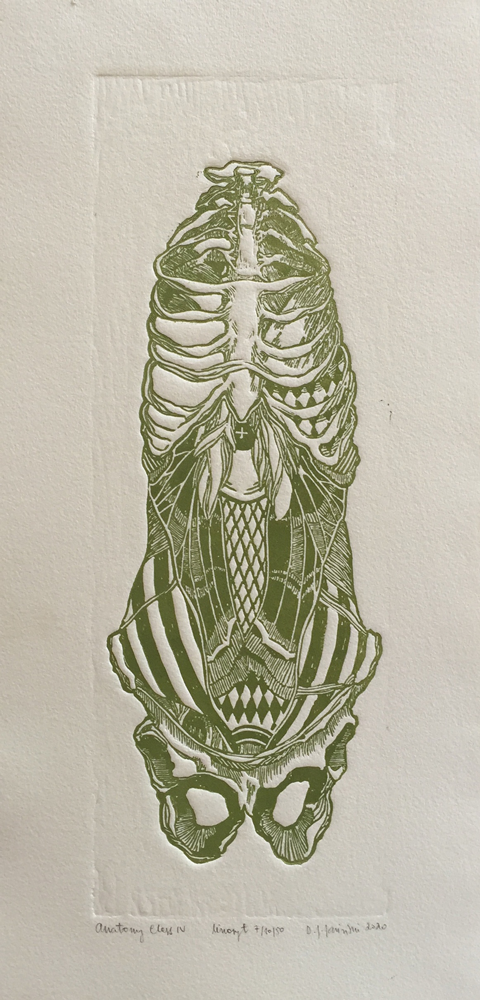
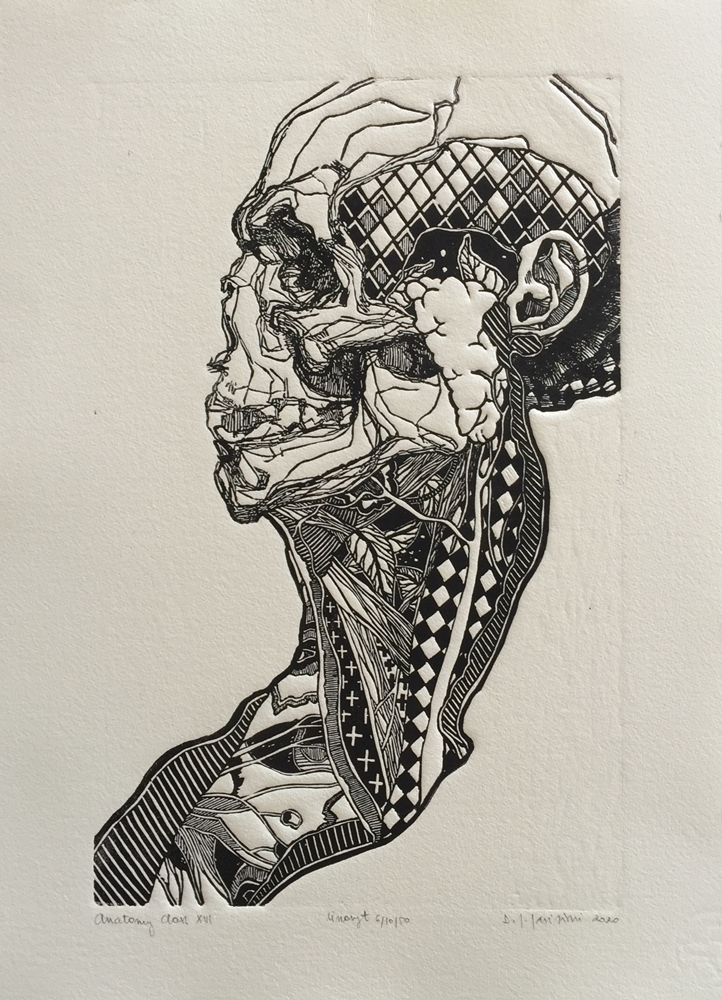
There is a lot of charm in the graphic prints of the linocut technique. Relief printing (the oldest known printing technique, including linocut) leaves deep texture on the paper, visible grooves and chisel marks. It is a relatively simple process, but each use of the chisel is visible in the final print – I think that. is why this technique attracts me so much. The viewer sees the entire history of the artist’s work, every imperfection and every sharp edge of the line.
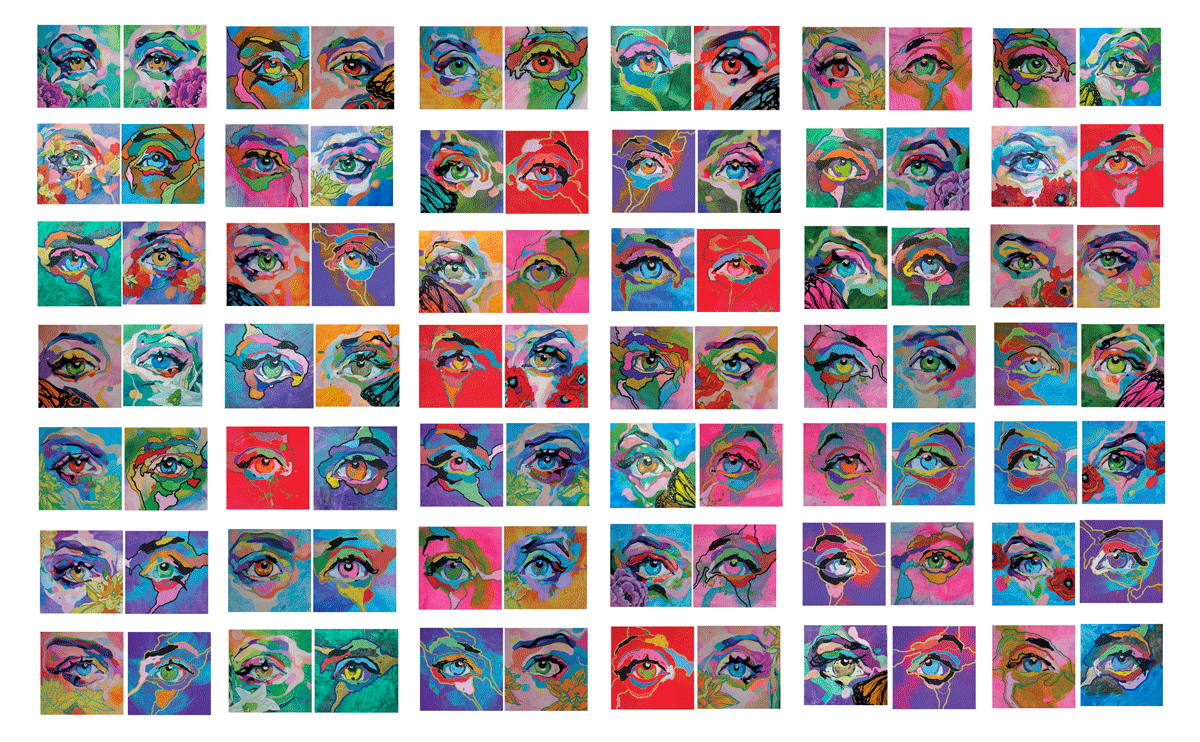
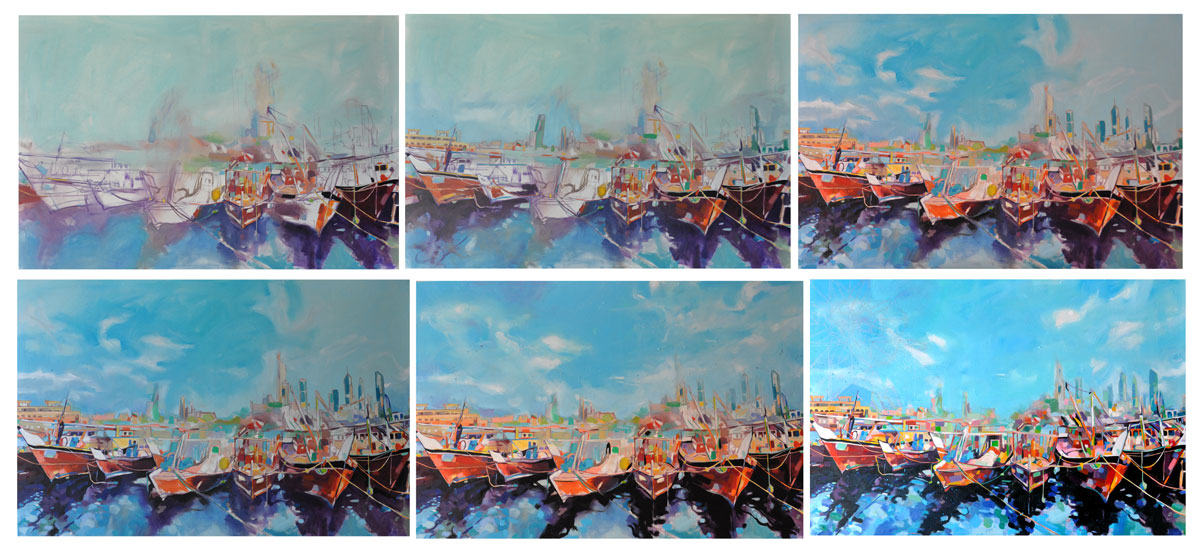
Ok, I’m off for some wine, leaving you with some photos from my latest linocut exhibition in Ateneu do Catorze in the portuguese village of Sao Luis.